Installation
GENPADs are easy to install by following the installation instructions, illustrated by these 6 steps.
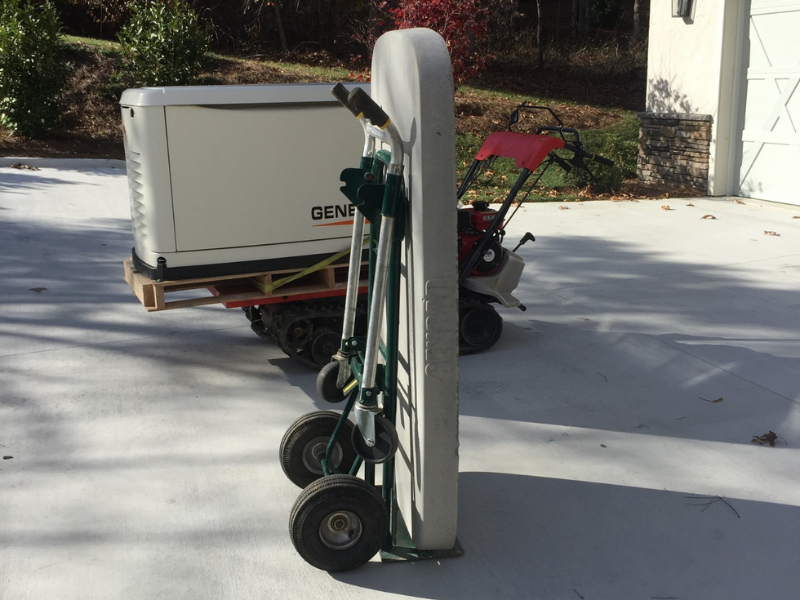
Step 1
Safely transport the GENPAD® and generator to the installation site. The Composite GENPAD® (34 lbs.) can easily be carried, no dolly needed.
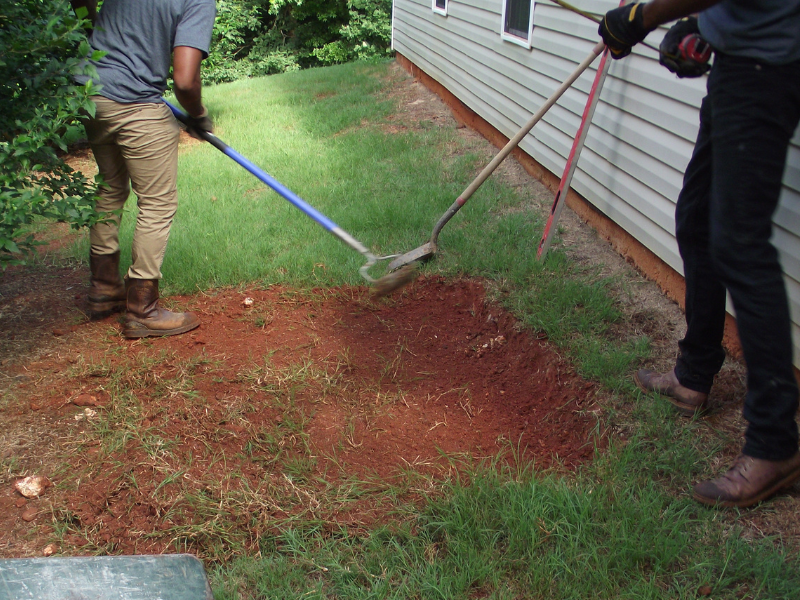
Step 2
Clear and level the desired location. If needed to help level the area, sand can be added.
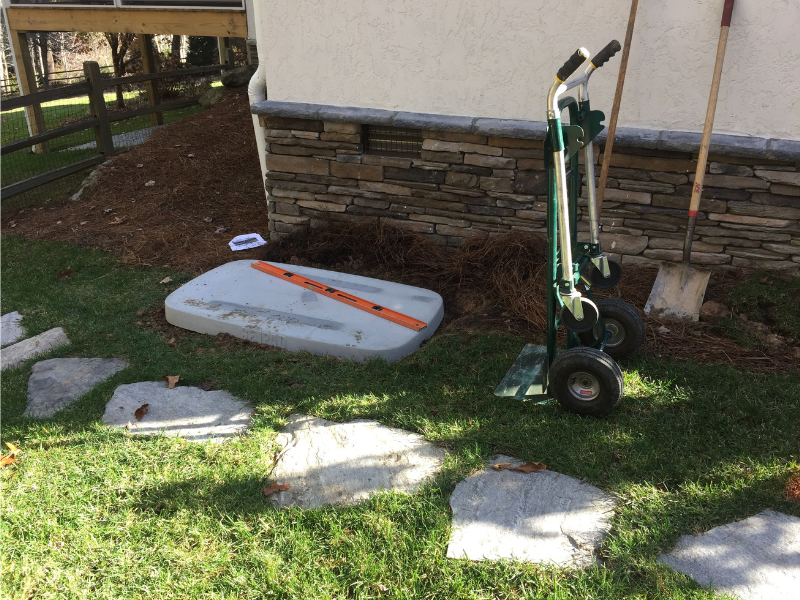
Step 3
Carefully place the GENPAD on the leveled and flat surface.
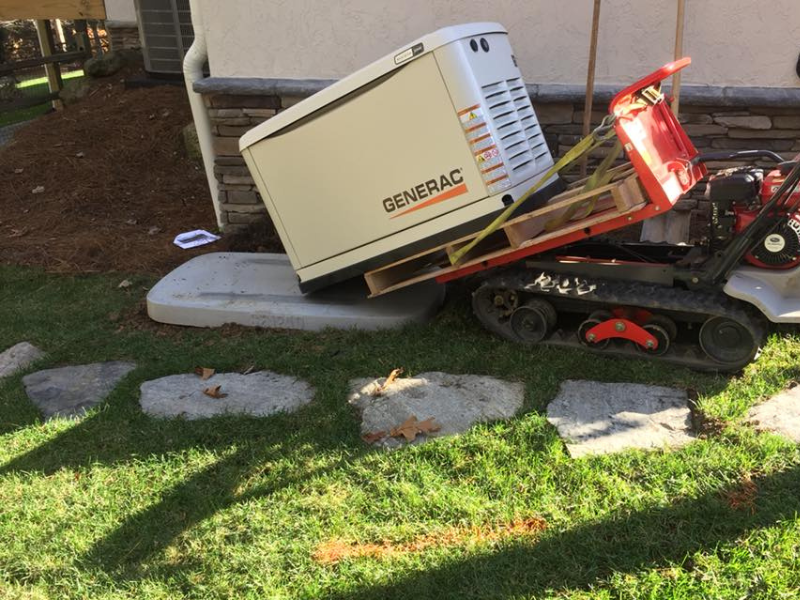
Step 4
Following installation instructions, carefully place the generator on the GENPAD.
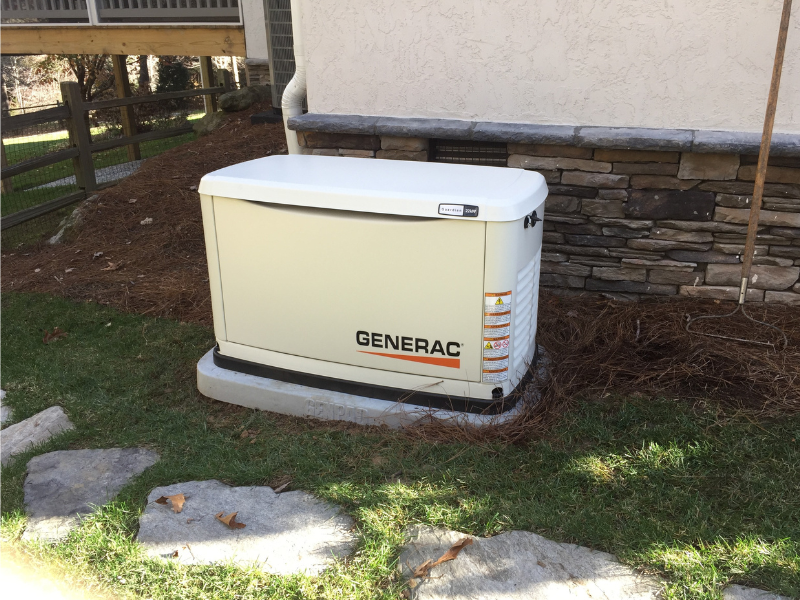
Step 5
Line up generator with placement markings, and secure as directed.
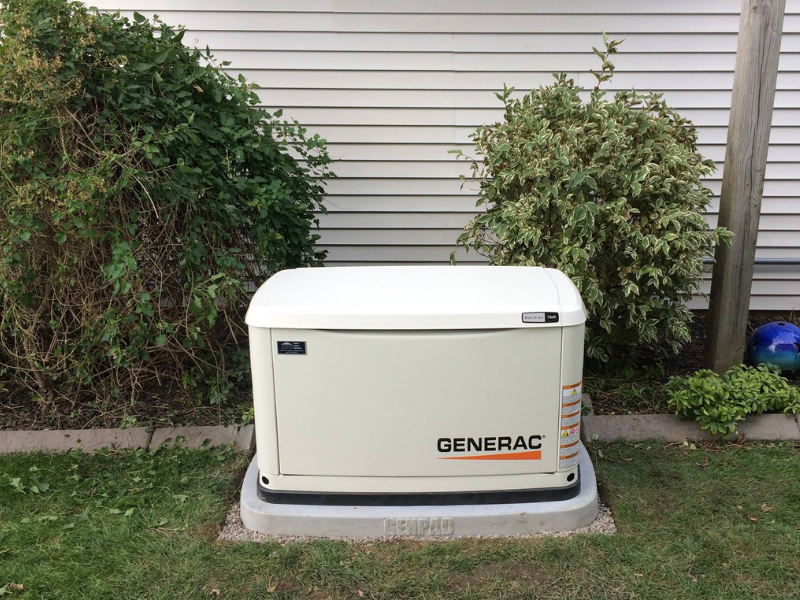
Step 6
Upon inspection of generator, complete electrical installation as directed.
